Teachers can create their own exercises for their students. No programming skills are needed — and no special characters either! Our exercise wizard walks you through five short steps: you type your sentences, tap the words you want your students to fill in, and the wizard takes care of everything else. On this page we show you the whole process.
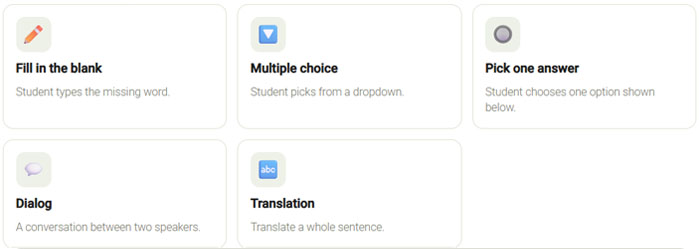
There are five types of exercises you can create. We can try to explain what they are by going into lots of detail, but the best way to understand them is to actually look at them.
And with a little imagination you can go much further. The description of your exercise can hold a whole story, so you can ask questions about it (a story with questions). You can test grammar (a grammar exercise), or build your exercise around an image, a video or an audio.
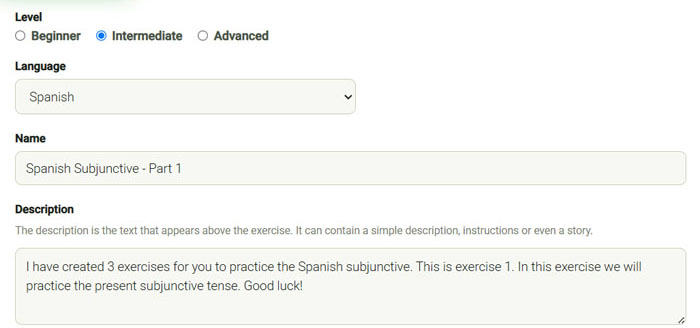
Give your exercise a name and a description. The description is the text that appears above the exercise: it can be a simple description, instructions for your student, or even a whole story you will ask questions about. Then choose whether the exercise is meant for beginner, intermediate or advanced students. If you teach more than one language, you can also select which language you are creating the exercise for.
Pick one of the five exercise types we described above. Don't worry too much about which one to pick for your very first exercise — you can always create another one.
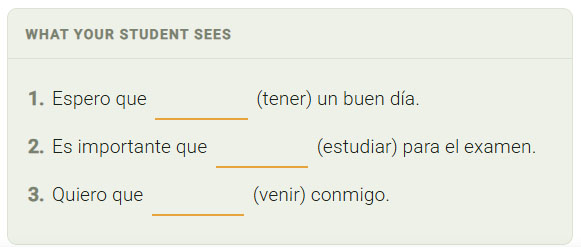
This is where your exercise comes to life, and it works the same way for every type: type a sentence, then tap the word or words you want your student to fill in or guess. Below every sentence, the wizard shows you a live preview called "What your student sees", so there are never any surprises. Click + Add another sentence for the next one, and remove a sentence with the little cross if you change your mind.
Tap a word and it becomes the blank your student has to type. If more than one answer would be correct — a different spelling, a shorter form — add them under Also accept, so they count as correct too.
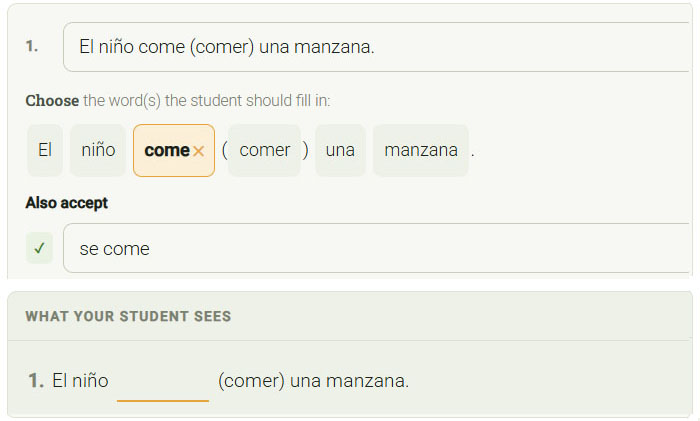
We also make typed answers easier on your students automatically:
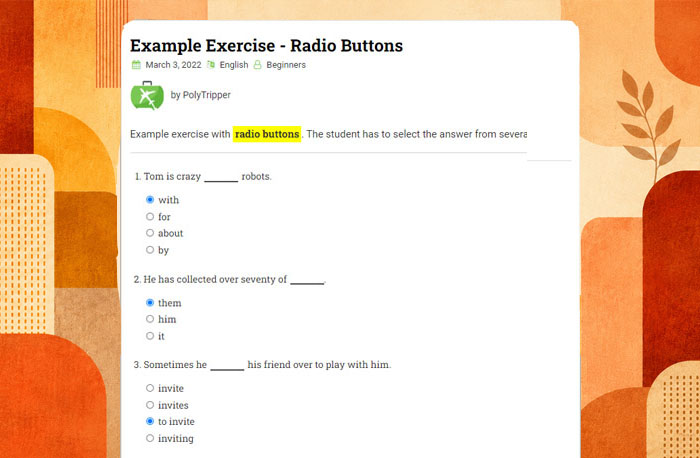
Tap the word your student should guess and it becomes a dropdown list. The wizard already knows your correct answer (the word you tapped — it's the row with the ✓); all you do is add one or more wrong options. The student sees the options in the order shown, so use the little arrows to move the correct answer around — if it's always on top, the exercise gets too easy! A sentence can have several dropdowns, and if you tap two words next to each other, you can decide whether they form one dropdown or use Split into separate dropdowns.
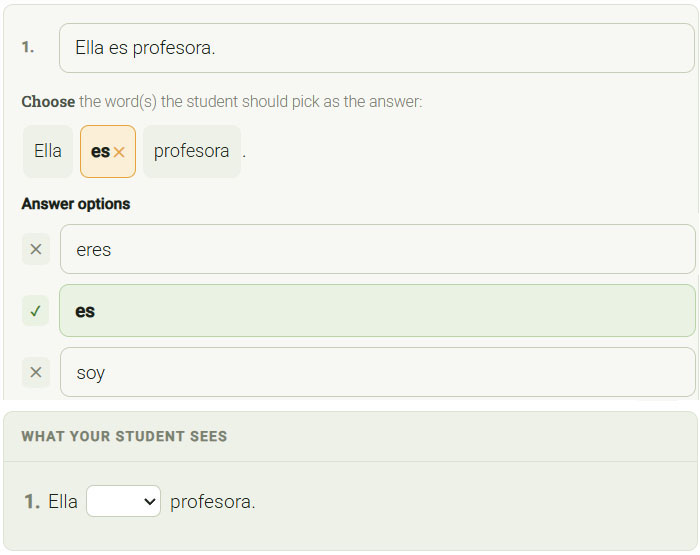
This works exactly like multiple choice — tap the word, add wrong options — but your student sees the options listed below the sentence instead of in a dropdown, and there can only be one per sentence.
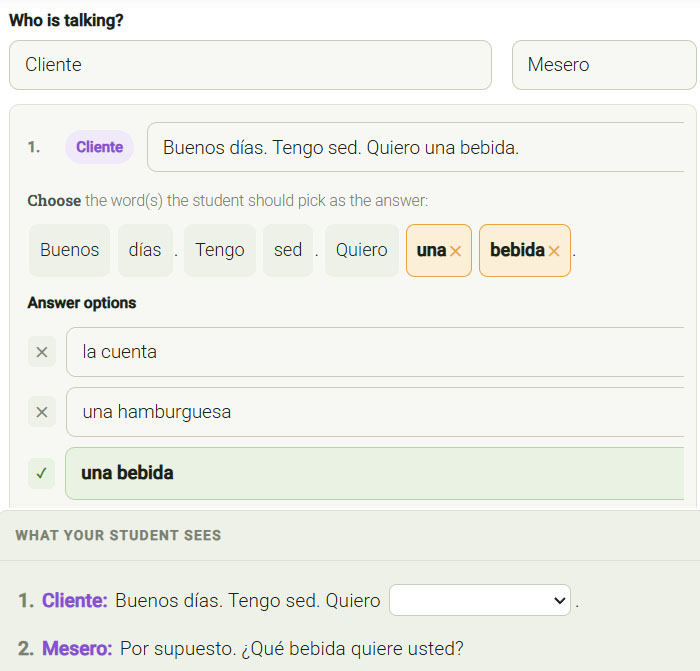
A dialog is a conversation between two people (or animals!). First fill in the names of your two speakers — in our example, Ben and the waiter. Then write the dialog line by line with + Add a line, choosing who is talking for each line. The blanks work just like in the other types: tap the word the student should fill in and add the answer options.
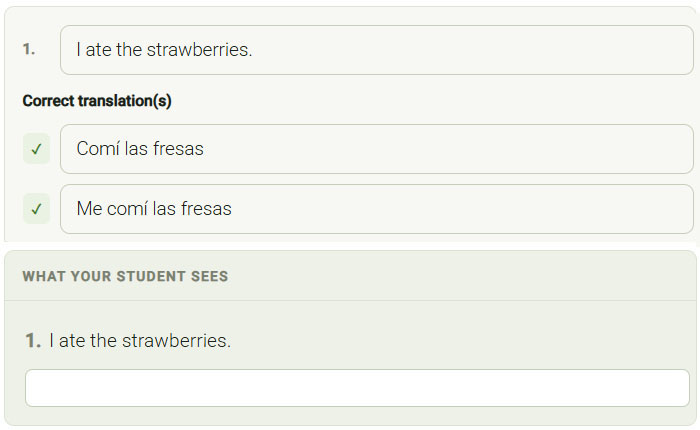
Type the sentence you want translated, then give the translation below it. Carefully spend some time thinking of all the other translations you would count as correct, and add every one of them with + Add another accepted translation. It can be very frustrating for a student to type a perfectly good translation and have it count as wrong! Your student gets a big empty box under each sentence to type their translation in.
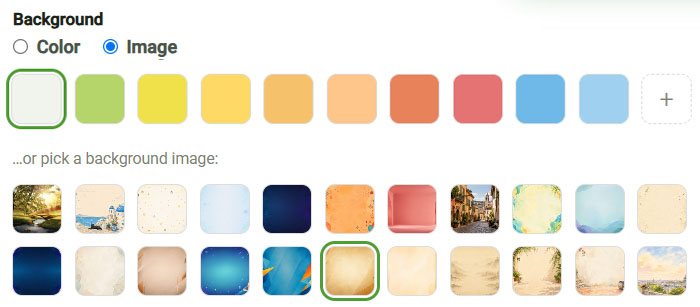
Now make it pretty! Choose the background of your exercise: one of our ready-made colors, your own custom color, or one of our background pictures.
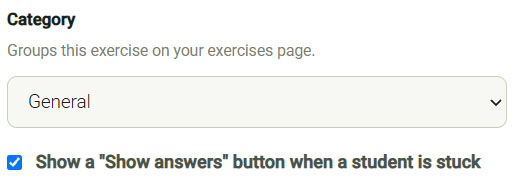
You can also file the exercise into a category. You can completely ignore this and have all your exercises go into "General", but if you create a lot of exercises, you might like to organize them a bit — pick an existing category or create a new one right there.
After your student has answered the questions and clicked the button, we show which answers are right and which are wrong. In this step you decide what happens when a student is stuck: leave Show answers switched on and a button appears that reveals all the correct answers — or switch it off and let them keep trying, or maybe ask you for help.
The last step shows you a summary of your exercise. Check that everything looks right, click and... that's it! You can edit any of your exercises later — the same wizard opens with everything filled in. If your exercise is already published on our public Exercises page, we will briefly review your changes before they go live.
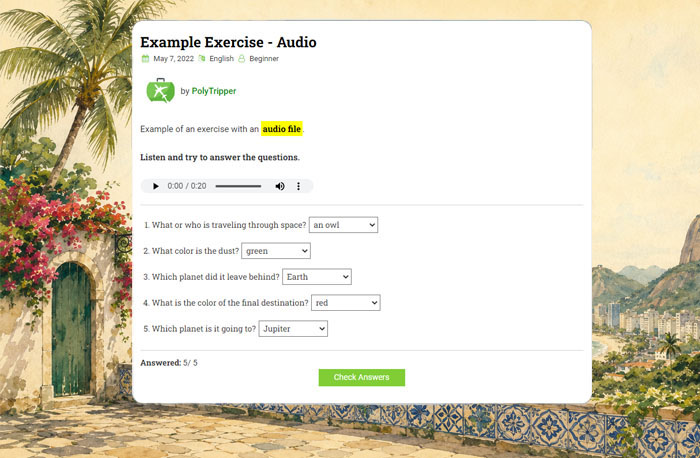
Any exercise can have a YouTube video, an image or an audio clip displayed at the top, below the description — great for listening and describing exercises. Please contact us and show us your video, image or audio and tell us what the source is BEFORE creating your exercise, so we can review it and make sure it can be included. You do not want to spend lots of time creating your exercise if your video, image or audio is not suitable for inclusion. Once your exercise is ready, we will add it for you. You can add one image and/or audio file per exercise.
Please note that images and audios have to be made by you, generated by you with an AI tool (such as ChatGPT), or be in the public domain. AI-generated media must not show real people, brands, or known characters, and AI audio must not imitate a real person's voice. Tell us which tool you used when you send it to us. Examples of websites that have photos that can be used for free on commercial websites are: pixabay, UnSplash, skitterphoto, gratisography, SplitShire, PicOGraphy, StockSnap and pexels.
Your exercises are for your own PolyTripper students: after you create an exercise, just give the link to your student. You can also request that your exercise be placed on our main Exercises page — you do that on the create exercises page. Exercises listed there are visible to all PolyTripper students, not just your own, and they also show in your teacher profile.

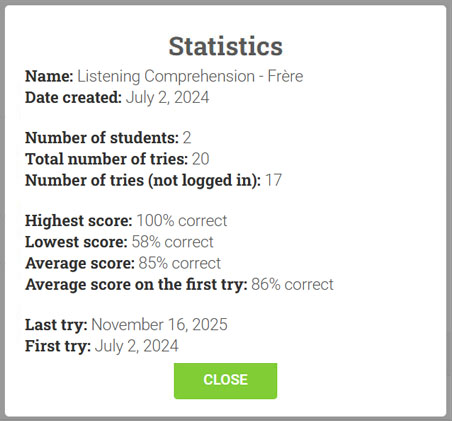
On the create exercises page you can also view the statistics for your exercises, so you can see how often they are being done. See the image below.